
Robot Operating System and LP-Research IMUs? Simple!
Introduction
Robot Operating System (ROS) is a tool commonly used in the robotics community to pass data between various subsystems of a robot setup. We at LP-Research are also using it in various projects, and it is actually very familiar to our founders from the time of their PhDs. Inertial Measurement Units are not only a standard tool in robotics, the modern MEMS devices that we are using in our LPMS product line are actually the result of robotics research. So it seemed kind of odd that an important application case for our IMUs was not covered by our LpSensor software: namely, we didn’t provide a ROS driver. We are very happy to tell you that such a driver exists, and we are happy that we don’t have to write it ourselves: the Larics laboratory at the University of Zagreb are avid users of both ROS and our LPMS-U2 sensors. So, naturally, they developed a ROS driver which they provide on their github site. Recently, I had a chance to play with it, and the purpose of this blog post is to share my experiences with you, in order to get you started with ROS and LPMS sensors on your Ubuntu Linux system.
Installing the LpSensor Library
Please check our download page for the latest version of the library, at the time of this writing it is 1.3.5. I downloaded it, and then followed these steps to unpack and install it:
tar xvzf ~/Downloads/LpSensor-1.3.5-Linux-x86-64.tar.gz
sudo apt-get install libbluetooth-dev
sudo dpkg -i LpSensor-1.3.5-Linux-x86-64/liblpsensor-1.3.5-Linux.deb
dpkg -L liblpsensor
I also installed libbluettoth-dev, because without Bluetooth support, my LPMS-B2 would be fairly useless.
Setting up ROS and a catkin Work Space
If you don’t already have a working ROS installation, follow the ROS Installation Instructions to get started. If you already have a catkin work space you can of course skip this step, and substitute your own in what follows. The work space is created as follows, note that you run catkin_init_workspace inside the src sub-directory of your work space.
mkdir -p ~/catkin_ws/src
cd !:2
catkin_init_workspace
Downloading and Compiling the ROS Driver for LPMS IMUs
We can now download the driver sources from github. It optionally makes use of and additional ROS module by the Larics laboratory which synchronizes time stamps between ROS and the IMU data stream. Therefore, we have to clone two git repositories to obtain all prerequisites for building the driver.
cd ~/catkin_ws/src
git clone https://github.com/larics/timesync_ros.git
git clone https://github.com/larics/lpms_imu.git
That’s it, we are now ready to run catkin_make to get everything compiled and ready. Building was as simple as running catkin_make, but you should setup the ROS environment before that. If you haven’t, here’s how to do that:
cd ~/catkin_ws
source devel/setup.bash
catkin_make
This should go smoothly. Time for a test.
Not as Cool as LpmsControl, but Very Cool!
Now that we are set up, we can harness all of the power and flexibility of ROS. I’ll simply show you how to visualize the data using standard ROS tools without any further programming. You will need two virtual terminals. In the first start roscore, if you don’t have it running yet. In the second, we start rqt_plot in order to see the data from our IMU, and the lpms_imu_node which provides it. In the box you can see the command I use to connect to my IMU. You will have to replace the _sensor_model and _port strings with the values corresponding to your device. Maybe it’s worth pointing out that the second parameter is called _port, because for a USB device it would correspond to its virtual serial port (typically /dev/ttyUSB0).
rosrun rqt_plot rqt_plot & # WordPress sometimes (but not always!) inserts "amp;" after the ampersand, if you see it, please ignore it.
rosrun lpms_imu lpms_imu_node _sensor_model:="DEVICE_LPMS_B2" _port:="00:04:3E:9E:00:8B"
Once you enter these commands, you will then see the familiar startup messages of LpSensor as in the screenshot below. As you can see the driver connected to my LPMS-B2 IMU right away. If you cannot connect, maybe Bluetooth is turned off or you didn’t enter the information needed to connect to your IMU. Once you have verified the parameters, you can store them in your launch file or adapt the source code accordingly.
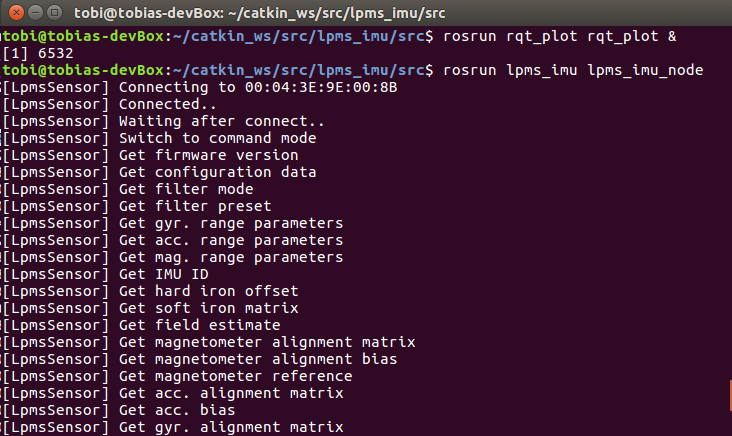
Screenshot of starting the LPMS ROS node
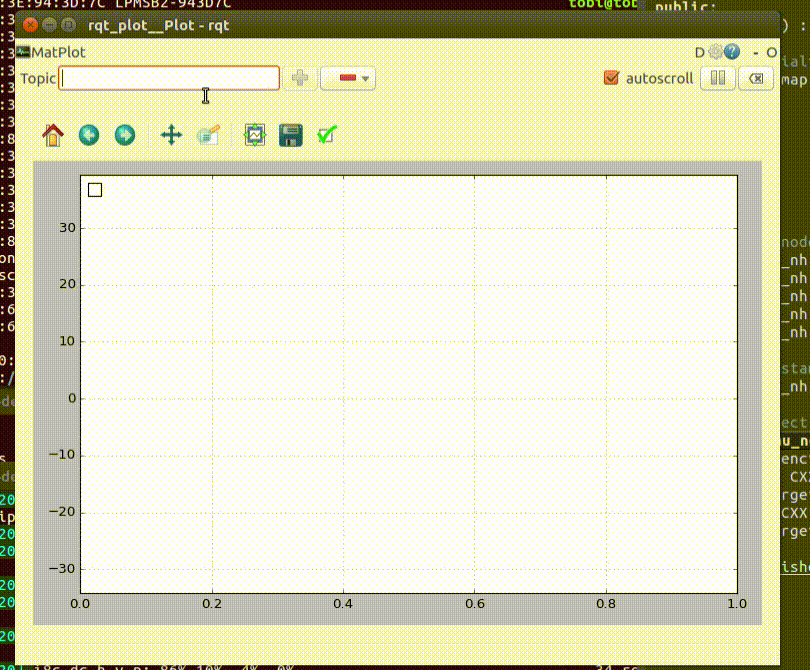
The lpms_imu_node uses the standard IMU and magnetic field message types provided by ROS, and it publishes them on the imu topic. That’s all we need to actually visualize the data in realtime. Below you can see how easy that is in rqt_plot. Not as cool as LpmsControl, but still fairly cool. Can you guess how I moved my IMU?
Please get in touch with us, if you have any questions, or if you found this useful for your own projects.
Update: Martin Günther from the German Research Center for Artificial Intelligence was kind enough to teach me how to pass ROS parameters on the command line. I’ve updated the post accordingly.

